Ceiling tiles are a versatile and practical solution for enhancing the aesthetics and acoustics of any room. Whether you’re looking to upgrade your home’s interior or improve the ambiance of your office space, ceiling tiles offer a world of possibilities.
The best part? You can embark on this transformation as a do-it-yourself project. In this guide, we’ll take you through the step-by-step process of installing ceiling tiles to elevate your space with style and sound.
1. Gathering Materials and Tools
Before embarking on your DIY ceiling tile installation project, it’s crucial to gather all the necessary materials and tools. This step ensures a smooth and efficient installation process.
You’ll need tiles, a grid system, screws, a screwdriver, a level, a tape measure, a chalk line, a ladder, safety gear including goggles and gloves, and a respirator mask if you’re working in a dusty environment. It’s wise to double-check that you have everything on hand before you start, as it can be frustrating to halt your progress midway due to missing tools or materials.
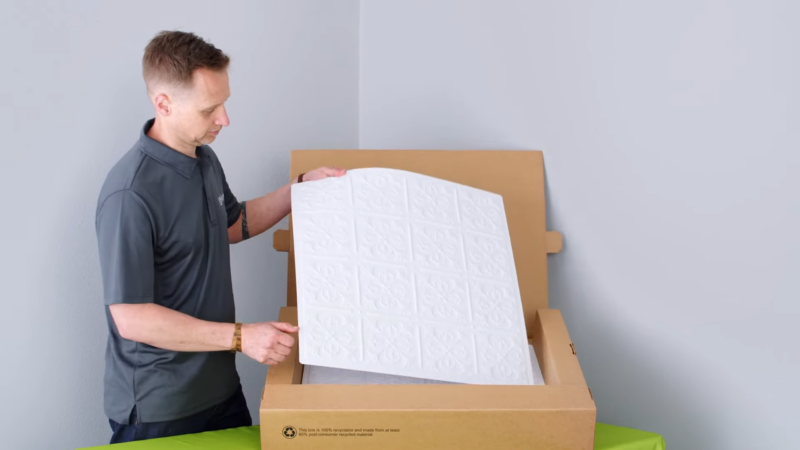
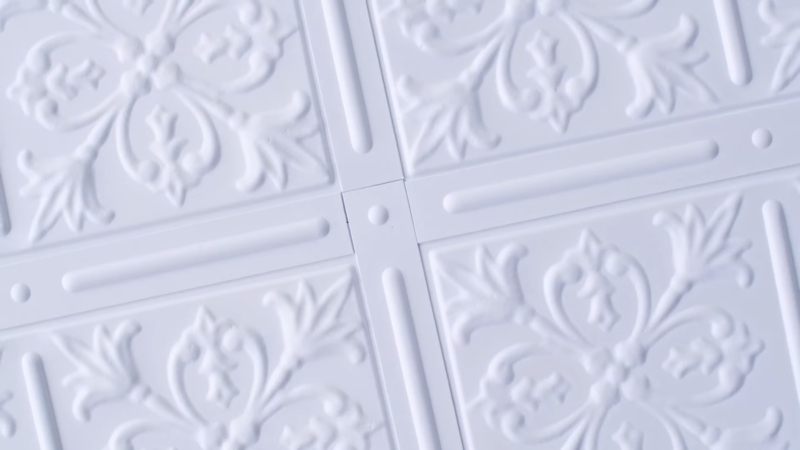
2. Choosing the Right Ceiling Tiles
Selecting the appropriate ceiling tiles is a pivotal decision in your project. There is a wide variety of ceiling tiles available in the market, each with unique characteristics.
Consider factors like the material of the tiles, which can range from acoustic to decorative options, the style that aligns with your aesthetic preferences, and the size of the tiles to ensure they fit seamlessly in your space.
It’s essential to have a clear vision of the look you want to achieve and how the tiles will complement your overall interior design. Not being an expert in this domain requires you to contact professionals such as ctmiddletowntileinstallers.com.
3. Measuring and Preparing the Ceiling
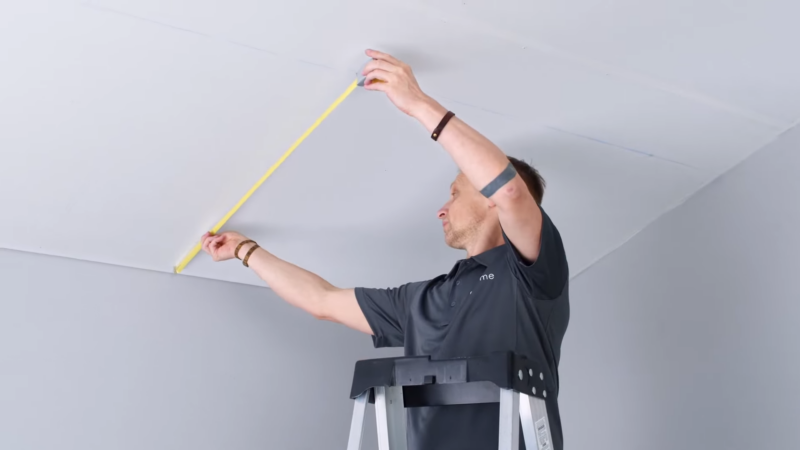
Accuracy is key when it comes to measuring and preparing the ceiling for tile installation. Use a tape measure to measure the dimensions of the ceiling area precisely.
Proper planning and layout are crucial for achieving a uniform and polished appearance. Before attaching any tiles, it’s essential to prepare the upper surface. This includes cleaning it thoroughly to remove any dust, dirt, or debris.
4. Safety Precautions
Safety should always be a top priority during a DIY ceiling tile installation project. Wearing the appropriate safety gear is non-negotiable. Goggles protect your eyes from dust and debris, gloves provide hand protection, and a respirator mask is essential if you’re working in an environment with airborne particles.
When using tools and materials, follow manufacturer instructions carefully, and exercise caution. Use a stable ladder to access higher areas, ensuring it’s on a level surface.
5. Installing the Grid System
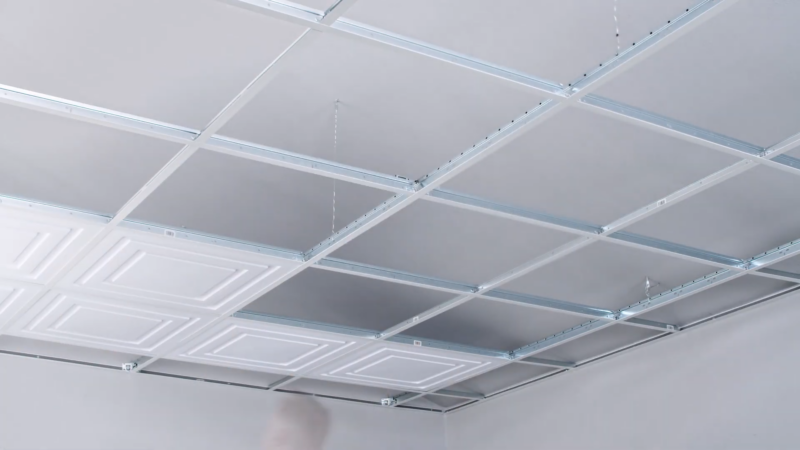
The grid system is the backbone of your ceiling tile installation. It provides support and ensures that the tiles are aligned correctly. Begin by attaching the grid to the ceiling. Use a level to ensure that the grid is perfectly horizontal, as any deviation can lead to an uneven appearance.
Secure the grid with screws, making sure it is stable and secure. This step-by-step process will set the foundation for the placement of the tiles. The grid not only supports the tiles but also aids in creating a seamless and professional finish.
6. Cutting and Fitting Ceiling Tiles
When it comes to installing ceiling tiles, one of the essential skills to master is cutting and fitting tiles around edges and obstacles. To achieve a professional finish, precision is key. Begin by measuring the space where the tile needs to fit.
Use a pencil to mark the tile’s dimensions accurately, allowing for any irregularities in the space. To cut the tile, a utility knife with a sharp blade or a specialized ceiling tile cutter is your best friend. Carefully follow the marked lines, ensuring a clean and precise cut. For irregularly shaped spaces, create a template using cardboard or paper to guide your cutting.
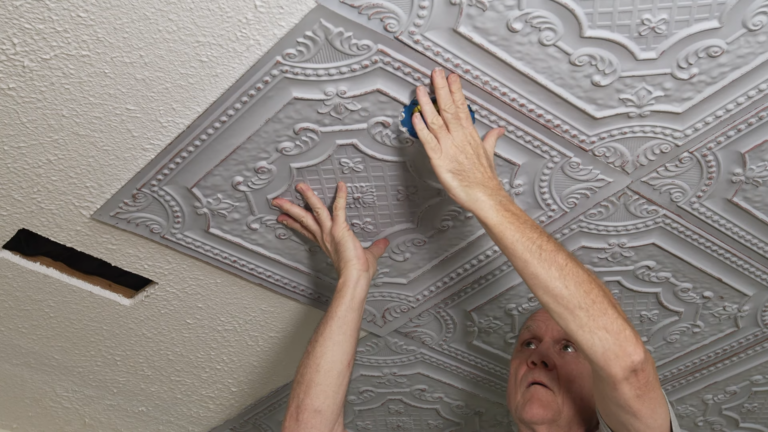
7. Adhesive and Attachment Methods

Choosing the right method for attaching ceiling tiles is crucial for a secure and lasting installation. Two common methods are adhesive and clips, each with its pros and cons. Adhesive offers a seamless look as it doesn’t require visible attachments, but it can be challenging to remove tiles later if needed.
Clips, on the other hand, provide easy access to the ceiling space but may be visible. Consider the type of tiles you’re using; some are designed specifically for adhesive installation, while others have clip-compatible designs.
8. Dealing with Lighting and Fixtures
Working around existing light fixtures and ventilation can be a tricky aspect of ceiling tile installation. When dealing with light fixtures, always turn off the power and follow safety precautions. Remove the fixture’s cover and detach it from the ceiling. Once the tiles are in place, reattach the fixture carefully.
For ventilation, ensure proper airflow by leaving a gap around vents or using specialized vented tiles. If you want to integrate lighting with the tiles, consider recessed lighting options. These fixtures are installed above the tiles, creating a clean and integrated look while providing ample illumination.
9. Finishing Touches and Trim
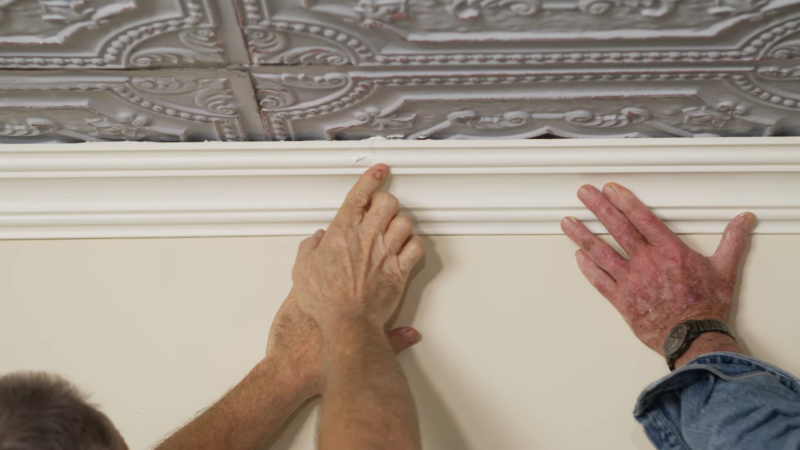
The finishing touches are what elevate your ceiling tile installation to a polished and professional level. Consider installing edge trim or crown molding to frame the ceiling and create a seamless transition between the tiles and the wall.
These decorative elements not only enhance the appearance but also hide any imperfections at the edges. Choose trim that complements your overall design theme, whether it’s classic crown molding for an elegant look or a sleek, minimalist trim for a modern aesthetic.
10. Cleaning and Maintenance
Maintaining the beauty of your newly installed ceiling tiles requires regular cleaning and care. To deal with stains, dust, and dirt, use a mild detergent solution and a soft cloth or sponge to gently wipe the tiles. Avoid abrasive or harsh cleaning agents that can damage the surface.
Periodic inspections are essential to ensure the tiles remain in good condition. Check for any signs of water damage, loose tiles, or discoloration. Address any issues promptly to prevent further damage and maintain the integrity of your ceiling tile installation. With proper care, your tiles can retain their beauty and functionality for years to come.
Conclusion and Final Thoughts
In conclusion, installing ceiling tiles is a rewarding DIY project that can transform the look and feel of any space. By mastering the techniques of cutting and fitting, choosing the right attachment method, and working around lighting and fixtures, you can achieve a professional result.
Don’t forget the importance of finishing touches, such as trim and design choices, to create a visually stunning ceiling. Regular cleaning and maintenance will ensure your ceiling tiles stay beautiful and functional.
When considering the overall comfort of your home, it’s also worth exploring whether insulating attic roof rafters could further enhance energy efficiency and temperature control. So, with confidence and careful planning, embark on your ceiling tile installation journey, and enjoy the transformed ambiance of your space.