Mold is more than just an unsightly issue; it can have serious health implications and structural impacts on your property. Prolonged exposure to mold can lead to respiratory problems and allergic reactions, and in severe cases, it can compromise the structural integrity of a building.
Therefore, identifying and addressing mildew promptly is not just a matter of aesthetics but also a health and safety concern. This blog post aims to demystify the mildew testing process, providing a clear timeline to help you understand how long it takes and what to expect at each stage.
1. Pre-Testing Preparation
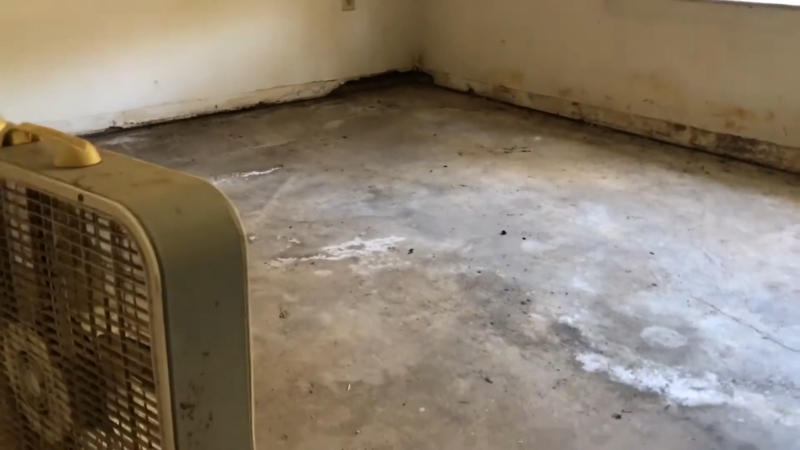
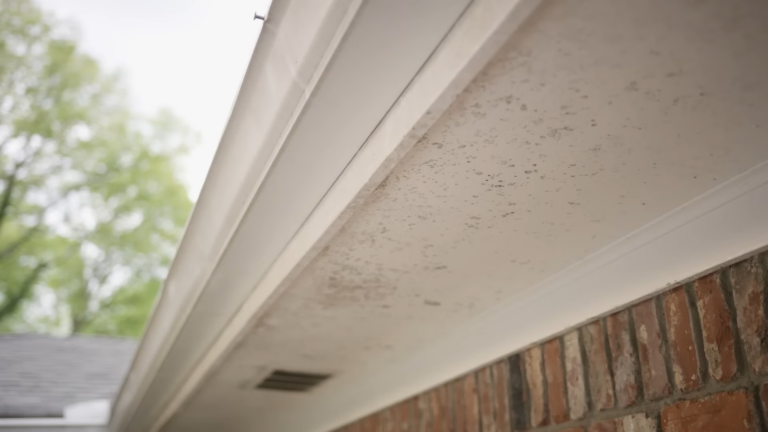
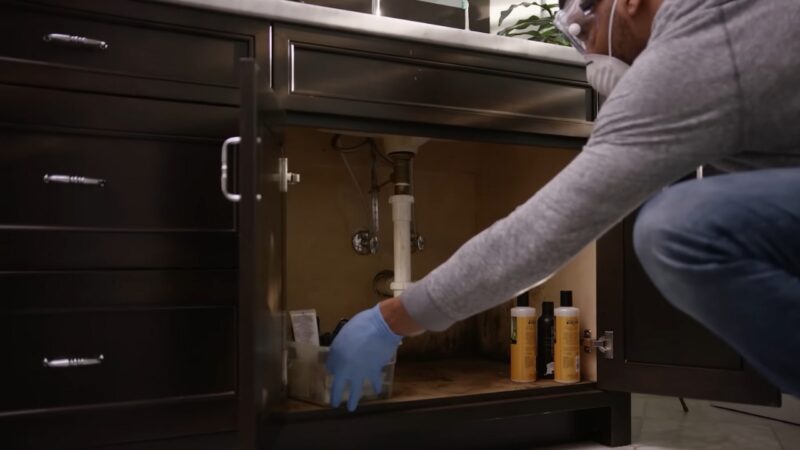
Before initiating mold testing, homeowners should conduct a preliminary assessment. Look for visible signs of mold, such as black or green spots on walls, or a musty smell that can indicate hidden growths.
Check areas prone to moisture, like bathrooms, basements, and around plumbing. Moisture meters can also be used to detect areas with high humidity that are conducive to mildew growth.
If you suspect mold, limit your exposure and avoid disturbing the area, as this can release mold spores into the air, potentially worsening indoor air quality. Document your findings with photos and note any water damage or leaks, as these details are crucial for mildew testing professionals.
2. Hiring a Mold Testing Professional
Choosing the right professional for mold testing is crucial for accurate results and effective remediation. Look for certified mold inspectors with experience, as they will have a deeper understanding of mildew types, health risks, and remediation strategies.
Check their credentials, read reviews, and ask for references to ensure their reliability. A qualified professional will have the tools and knowledge to conduct thorough testing and provide insights into the extent of the mold problem.
It’s important to hire someone who not only identifies the presence of mildew but also understands the variety of mold types and their health risks, ensuring that the appropriate measures are taken to address the specific type of mildew present in your property. If you have persistent issues please visit http://www.tampbaymoldtesting.com/.
3. Initial Assessment
The initial assessment is a critical step in the mold testing process. During this phase, the professional will inspect your property thoroughly, focusing on areas with visible mildew and moisture issues.
They’ll consider factors like the age of the building, the history of water damage, environmental conditions, and the extent of the mildew growth. This assessment is essential for developing a strategic approach to sampling and remediation. It can take a few hours to a full day, depending on the property size and mold severity.
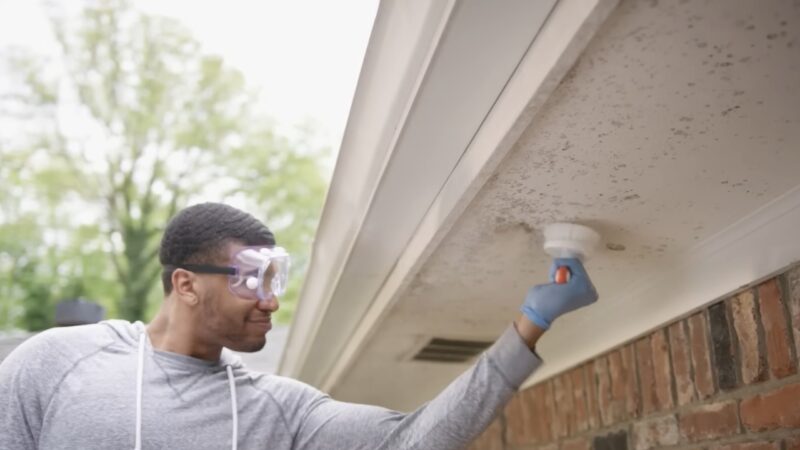
4. Sampling Process
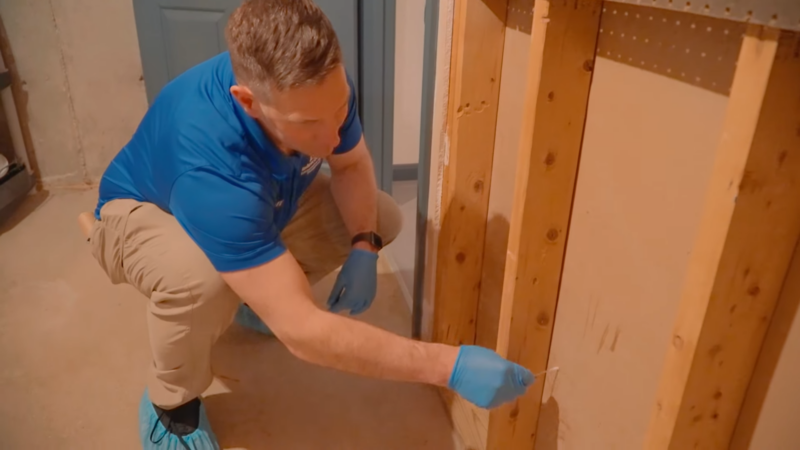
The sampling process is integral to mold testing and involves several methods. The most common include air sampling, surface sampling, and bulk material sampling. Air sampling captures spores in the air and helps determine the air quality and concentration of mold spores.
Surface sampling tests specific areas for mildew presence, while bulk material sampling involves analyzing materials like drywall or insulation that may harbor mold. Each method has its pros and cons, and the chosen method depends on the specific mildew situation and the goals of the testing.
5. Laboratory Testing
Once samples are collected, they are sent to a lab for analysis. The time frame for laboratory testing can vary from a few days to a week, depending on the lab’s workload and the complexity of the testing required.
Factors like the type of test, the mildew species being tested for, and the need for detailed analysis can affect the duration. During this period, the lab technicians analyze the samples to identify the type and concentration of mold.
6. Reporting

After the laboratory testing, you will receive a comprehensive report detailing the findings. This report typically takes a few days to a week to prepare, as it involves not just the presentation of the results, but also an interpretation and recommendations for remediation.
It includes information on the type of mold, the severity of the infestation, and specific recommendations for addressing the issue. The report is crucial for understanding the extent of the mildew issue, planning the next steps, and serving as a guide for any necessary remediation work.
7. Remediation Planning (If Necessary)
If mold is found, a remediation plan is needed. Developing this plan can take from a few days to a couple of weeks, depending on the mold’s severity and location. The plan should outline the steps for safe mildew removal, addressing the moisture source, and preventing future growth.
It may involve coordination with various professionals, including remediators, contractors, and possibly environmental consultants, especially in cases of extensive mildew infestation or when dealing with toxic mold species.
8. Remediation Process (If Necessary)
The remediation process involves removing the mold and addressing the moisture source that contributed to the mildew growth. The time frame for this varies based on the mold’s extent and location, ranging from a few days to several weeks.
The process may involve the physical removal of mold-infested materials, cleaning with specialized agents, and fixing moisture problems. Professional remediation ensures that mildew is thoroughly removed, that health risks are minimized, and that your property is safe for occupation.
9. Post-Remediation Testing (If Necessary)
Post-remediation testing is essential to ensure all mold has been effectively removed and that the environment is safe for the occupants. This testing is similar to the initial testing process and can take a few hours to a day, depending on the size and complexity of the treated area.
It is followed by lab analysis and reporting, which can take another week. This phase is crucial for providing peace of mind and verifying that the remediation efforts were successful. It also ensures that any lingering issues are identified and addressed before they can lead to a recurrence of mildew growth.
10. Understanding Delays
Delays in the mold testing process can occur due to various factors such as lab backlogs, the complexity of the testing, challenges in scheduling remediation, and unforeseen issues in the remediation process itself. To avoid delays, choose reputable professionals and plan for potential wait times in the process.
It’s also helpful to communicate regularly with the professionals involved to stay updated on the progress and any potential delays. Proactive planning and clear communication can help mitigate these delays and ensure the process moves as smoothly and swiftly as possible.
Conclusion
Understanding the timeline for mold testing is key to effectively managing a mildew issue. Being aware of each step in the process, from initial assessment to post-remediation testing, helps in making informed decisions and ensuring a safe and healthy living environment.